The Process of Going Solar: A Timeline
Installing solar panels on your roof is a process that can take anywhere from one to three months or more. Surprisingly, the actual installation of the panels may only account for a day or two. Most of the time required to get your solar system up and running is spent on design, permit approval, and the final inspection of your system. There are a lot of hoops to jump through, but a good installer will streamline the process for you to ensure the installation is completed as quickly and efficiently as possible.
With so many regional differences, your own personal solar timeline may vary from the average timeline by several weeks. However, this guide should give you a good idea of what to expect with your solar installation.
Step 1: Solar Installer Selection (1–4 Weeks)
Your first step is to find a solar installer that suits your budget and your expectations for reliability and service. In most urban areas in the US, there are lots of solar installers to choose from. You can vet installers based on a number of criteria.
- Licensure and Certification: Ensure your chosen installer has all necessary licenses. Additional voluntary certifications are good indicators of quality.
- Maintenance and Service: Different installers will offer varying levels of coverage in the unlikely event your panels need maintenance or repair. Find out what’s covered and for how long.
- Experience: See how many completed projects your installer has. However, newer installers may be more competitive in terms of pricing or technology.
- Testimonials: Find out how previous customers felt about their installation experience. Talk to your neighbors and any references provided by your installer, and check online review boards.
Once you contact a solar installer, they can take a look at your house and your past energy bills to determine what system size is appropriate for your home. Your system size will likely be adjusted during the design process, but your installer will provide a close estimate so the project can get underway.
Before you begin the project, there are usually a few additional hurdles. In most regions, you’ll need to contact your local utility company to ensure they’re aware of your project; they may have a waitlist for new solar installations. Next, check your homeowners insurance policy for any necessary coverage changes. And finally, it may be advisable to familiarize yourself with the local permitting process to get a jump on any potential issues down the road. Installers don’t always help with these steps, so you may want to be prepared, just in case.
Step 2: Paperwork and Site Visits (1–2 Weeks)
After you’ve selected a solar installer and signed the paperwork for a pre-determined system size estimate, your solar installer will arrange for a series of site visits so your system can be custom-designed for your home.
Designing a solar system often requires a handful of specialists. Larger solar companies may have all the properly certified and licensed staff on their team, but it’s not uncommon for smaller solar companies to sub-contract with electricians and roofing specialists.
- A solar contractor will examine your roof to determine the azimuth, or the direction the sun sits, and total sun exposure. With just a few measurements, they can determine the best possible placement for your solar panels to maximize your electricity production year-round.
- A master electrician will take a look at your home’s wiring to determine if it’s suitable for a grid-tied solar installation. Older homes may need to be rewired before they’ll meet the minimum safety requirements, which can take time. Most electricians need a day, sometimes more, to complete a residential rewiring.
- A roofing contractor or general contractor will inspect the structural integrity of your roof to ensure it will stand up to the weight of a rack and solar panels. Solar panels have a productive life of 25 or more years, so be sure your roof won’t need to be replaced before your panels wear out. You could be looking at another several thousand dollars if your panels need to be removed and re-installed during a roof replacement.
Step 3: Design and Approval (1–2 Weeks)
As soon as your solar installer has all the necessary information, they can draft up a design. Most installers use digital software to design a PV system in advance. These drawings determine the placement and orientation of the panels, the wiring, the connections to components like an inverter and your home’s meter, and the incorporation of additional systems like batteries.
Still, it’s up to you to give final approval before the installation process can begin. A good installer will walk you through various documents and ensure you understand all the nuances of your new solar system so you can confidently approve of the design. While going over the design, you also have a chance to make changes to the system size or the placement of the panels. Re-designs may take additional time, so keep that in mind.
Step 4: Permit Submission and Approval (1–4 Weeks or Longer)
When you approve the final design, your solar installer will finalize all the technical documents and data and may submit the necessary permits for approval to your local planning board. In some cases, you may have to apply for permits on your own. Towns with a robust solar energy market usually have this process streamlined, and approval may only take a few days. In other regions, the process may take a whole month, or even longer.
Your local installer should be able to give you an estimated timeline for permit approval, but variance from region to region can be surprisingly high. If your permit is sent back for revision, it can extend your timeline even further. This is one stage where the installer’s experience can be a big asset.
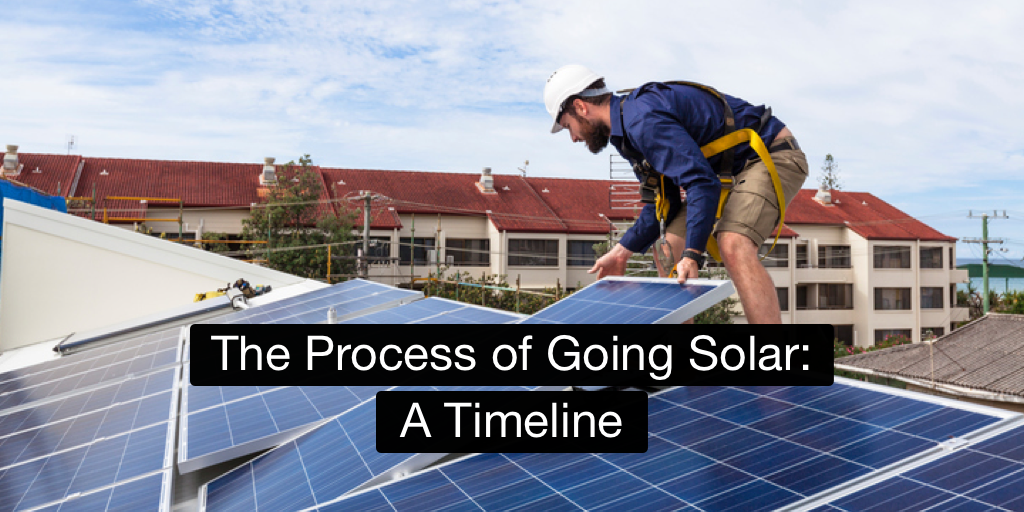
Step 5: Installation (1 Week)
Congratulations! Your permit application was approved and you’re ready to begin installation. This stage will vary in length based on the complexity and size of your system. For a simple roof shape, a solar installation could be completed in a single day. More complex systems can take longer. Your installer will have an estimate for you before work begins.
Step 6: Inspection and Final Approval (1–2 Weeks)
After your solar installation is completed, it must be approved by your utility company and/or a city inspector. They’ll look at the work done by your installer and (more than likely) approve the system. Your utility company will also install a new meter that allows for net metering of your excess electricity, and then your new solar system can finally be activated.
Not Every Installation Is the Same
While a timeline of two months is about the average, variation is more common than not. Every home is different, and every project has its own unique set of challenges. Some regions with large solar markets, like California, often advertise solar installation times of just one month. In other regions with slower permitting processes, approval can take three or more months. Project re-designs can also extend the timeline. Once you’ve gone through these steps, you’ll have a reliable and productive solar system that can easily produce electricity for 25 or more years.